Similar to the set of default modules and drivers that are assigned to newly created clients, you can define a set of Control Panel widgets that are assigned to newly created users.
If the user (or the client to which they belong) does not have access to a given module that a widget relies on, it will not be added to that user.
To manage the set of default widgets, click on under the Manage Clients heading when viewing a brand.
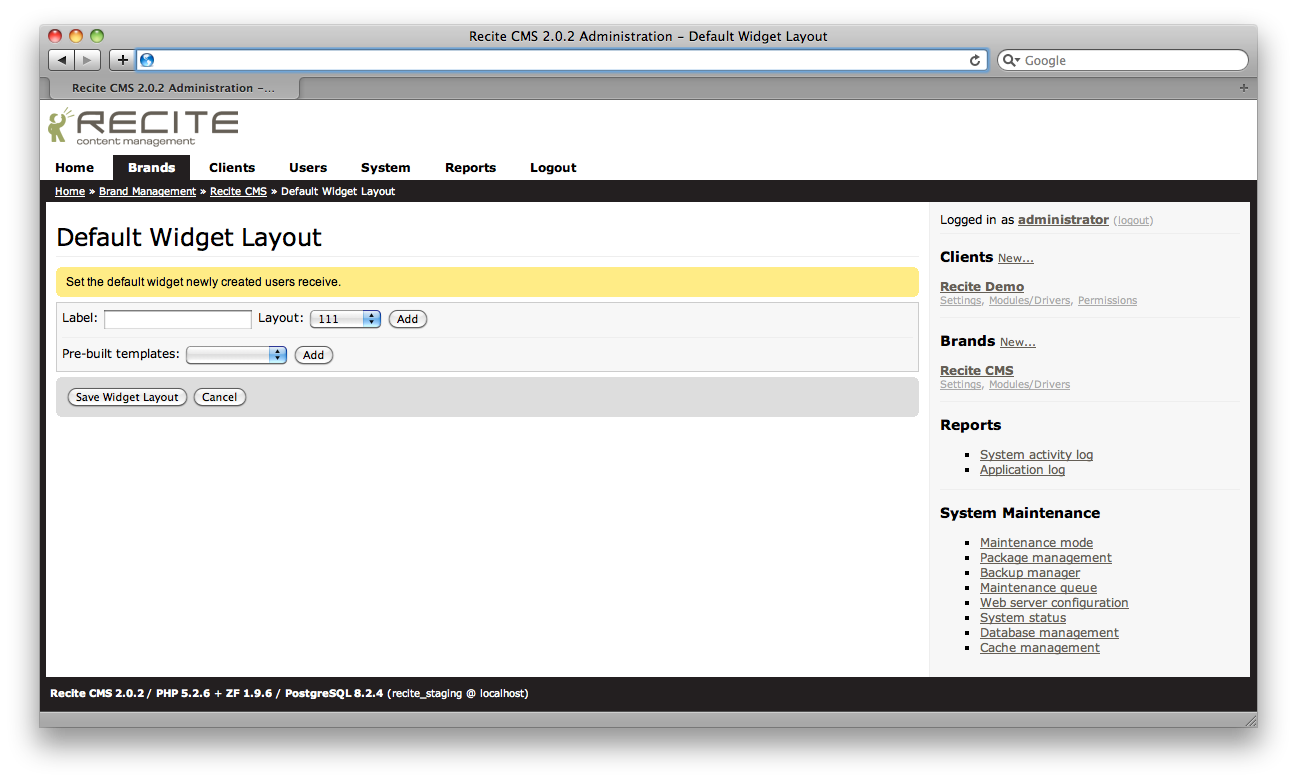
On this page you can define the set of default tabs and the widgets that belong to each tab. Any changes you make are not saved until you click the button.
To create a new tab, enter its title (this will appear as the name of the tab to user in the Control Panel) and select a layout.
The layout indicates the number of columns that will appear in the tab, as
well as the relative widths of each column. For example, a layout of
111 indicates 3 columns all the same width, while
12 means 2 columns, with the right-hand column twice as
wide as the left-hand column.
After you click , the tab will appear beneath all other tabs, allowing you to then add widgets to it.
You can change the title of the tab at any time, however if you want to change its layout you will need to remove the tab and create a new one.
As an alternative to manually creating a tab and adding widgets, you can use a pre-built tab template. These templates are also available to users in the Control Panel when they create a new tab.
To add a pre-built template, select one to add from the dropdown beside the Pre-built templates and click .
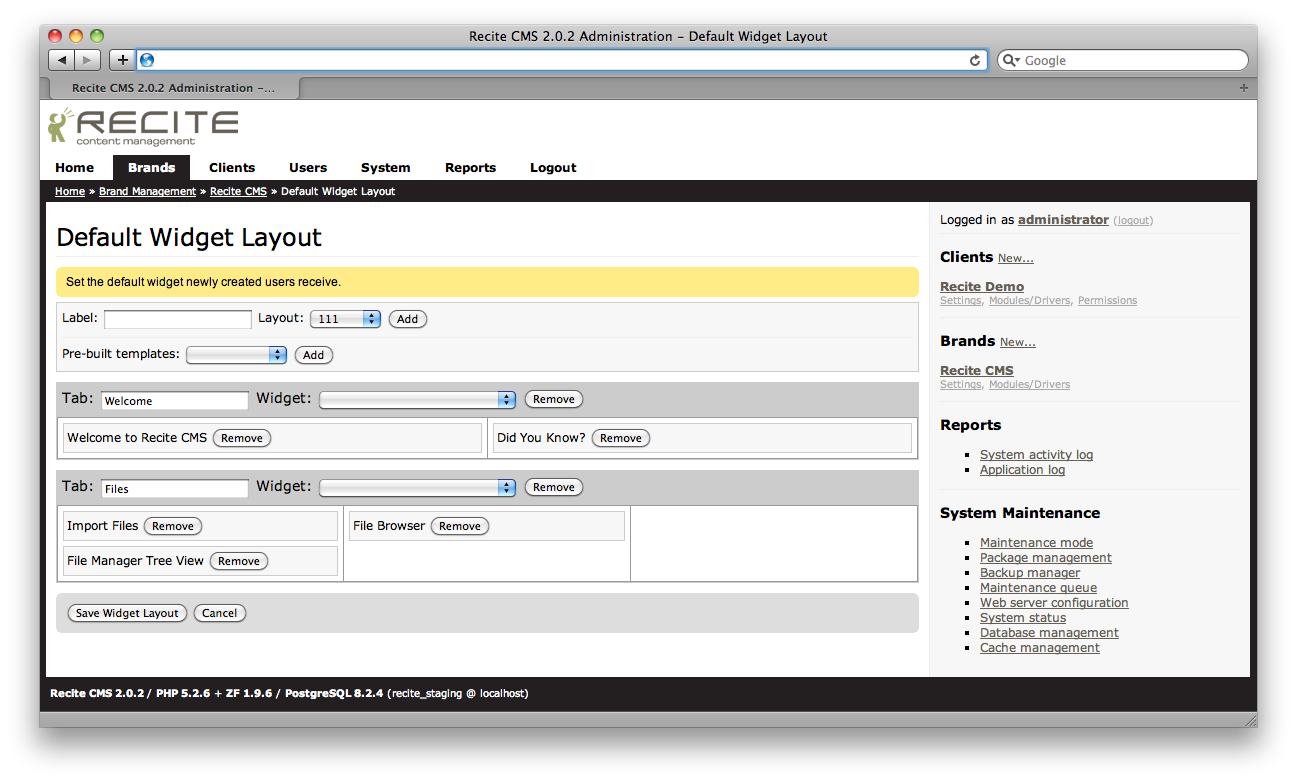
You can add, move and remove tabs from the added tab just as you would with other tabs in this section.
To add a widget to a tab, select the widget from the dropdown in the heading of the tab you want to add it to. The widget will be added to the first column of the tab.
Once a widget has been added to a tab, you can move it either to a different position in its current column; a different column in the same tab; or a different tab altogether.
To move a widget, click and drag the widget to its new location.
Additionally, if you have multiple tabs in your layout you can change their order. To move a tab, click anywhere in the heading of the tab and drag it to its new location.