The Forms widget lists all forms in your site, as well as allowing you to create new forms. Clicking on an index in this list allows you to view the form.
To create a form, click on the button in the forms widget. A drop-down will appear, allowing you to choose the type of form you want to create.
Once you have selected the form type, a dialog will appear allowing you to specify the form details. The fields that are displayed will depend on the form type, but all forms share some of the same fields.
Firstly, all forms have a title. This is used to identify the form from within the Control Panel. Secondly, you must decide if you want to protect the form using CAPTCHA (a simply phrase users must enter to prove they are human and not an automated form submitter). This is covered in further detail later this chapter.
Once you have entered the form details, click to create the form. The forms widget will update to display the new form. Click on the new form to open it in the form viewer widget.
If you want to edit an existing form, you can either click the link beside a form in the forms widget, or click the button when viewing the form.
A dialog will appear, allowing you to update the form. This form is very similar to the form creation dialog. Click to save your changes.
Recite CMS allows you to send out a series of emails every time a form is submitted on your site. This can be useful for a number of reasons.
For example, you can have a "send to friend" form that sends an email to a person the submitter specifies. Or you could have a contact form that sends notification to your site administrator, as well as sending confirmation back to the submitter.
Each email you create for a form can have its own template, as well as its own list of recipients.
To view and manage recipients for a form, click on the tab when viewing the form.
Before you can add a recipient you must create an email template. Refer to the Managing Templates chapter for details on creating a template.
When creating the template, you must select the appropriate template type for
that form type. For every type of form there is a template type for displaying
the form on your site, and a type for emails for that form (the type ends in
Email).
For example, if you wanted to create a template for a File Upload form, select the template type of File Upload - Email.
When you create an email template you will be shown three fields: one for the subject, one for the "plain text" portion of the email, and one for the "HTML" portion of the email.
You must include the subject, and even if you are including a HTML email it is recommended that you always include a plain text version for those users that don't accept HTML emails.
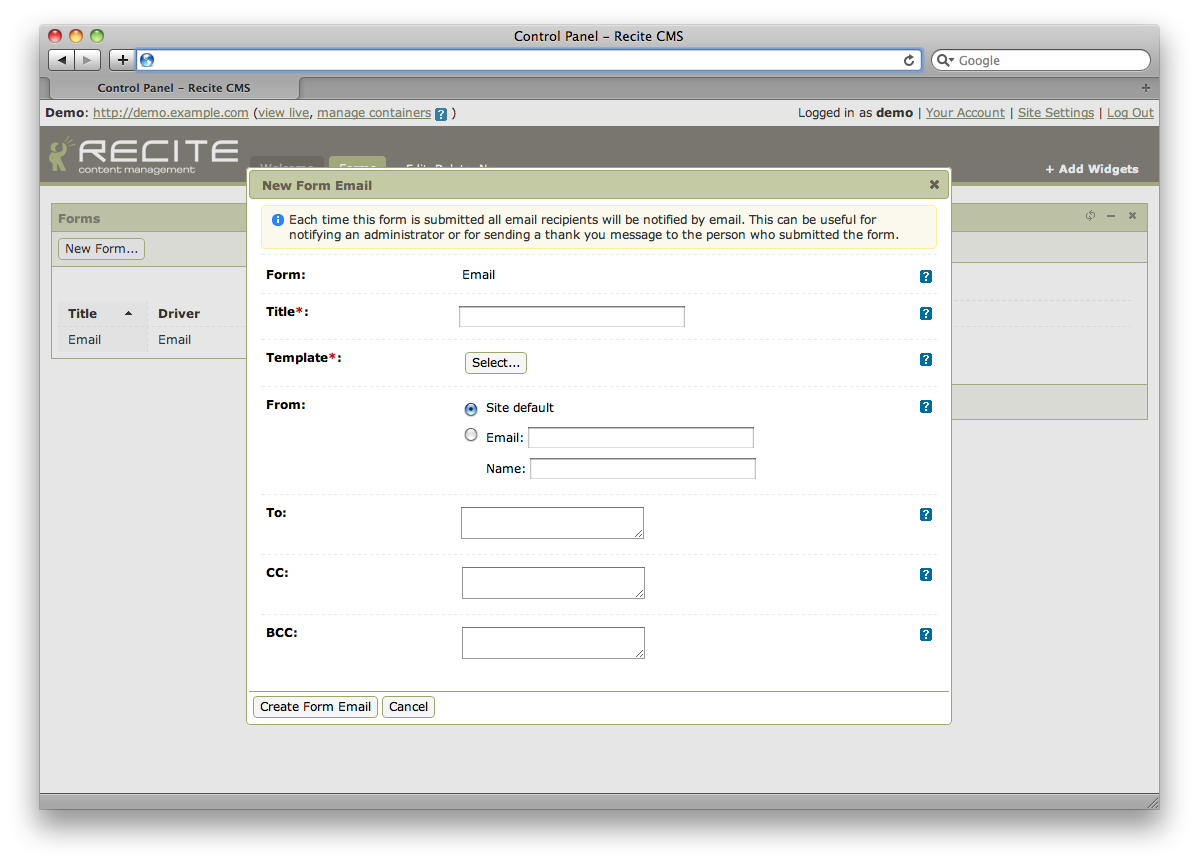
To add a new form recipient, click the button at the bottom of the list of recipients.
You will then be shown a dialog with options to add a new recipient. This is shown in the following figure.
Select the template you created in the previous step, as well as entering one or more recipients who will receive the email.
Click the button to save the new email.
To edit a form recipient, click the link beside the email you want to edit when viewing the list of recipients.
Make any changes required then click the button.
To delete a form from your web site, you can either click the link beside the form when viewing the list of forms, or by clicking the button when viewing the form.
You will be prompted to confirm that you want to delete the form. Click to delete the form.
Every time a form submitted a record is stored, allowing you to view all records. This is useful for forms such as "Contact Us" type forms, where you may want to refer back to previous inquiries.
Some form types may not store form submissions.
To view previous form submissions, click on the tab when viewing a form. Clicking on a form record will open a dialog displaying more details.
You can delete individual form records by clicking on the link beside the record you want to delete.
Recite CMS allows you to export form submissions to a CSV (comma-separated values) file. To do so, click the at the bottom of the form viewer.
A new dialog will appear, allowing you to select the date range of records you want to export. You can leave either of these fields blank.
Click to download the CSV file. Click once you are done.