The WYSIWYG can be further customized in two ways: firstly, by defining the list of custom styles that appears in the toolbar dropdown; and secondly, by defining how the editor area of the WYSIWYG looks when using it.
The first is useful in that it allows you to easily format your markup as required on your web site, while the second is useful so you can make the WYSIWYG look similar to your web site.
Both of these changes are achieved in Recite CMS by creating a special stylesheet in the Recite CMS file manager.
Once the file has been created, open the dialog and select the Global Settings package. Select the newly created stylesheet in the Editor Stylesheet setting and click
Any styles defined in this file will used for displaying the WYSIWYG editor.
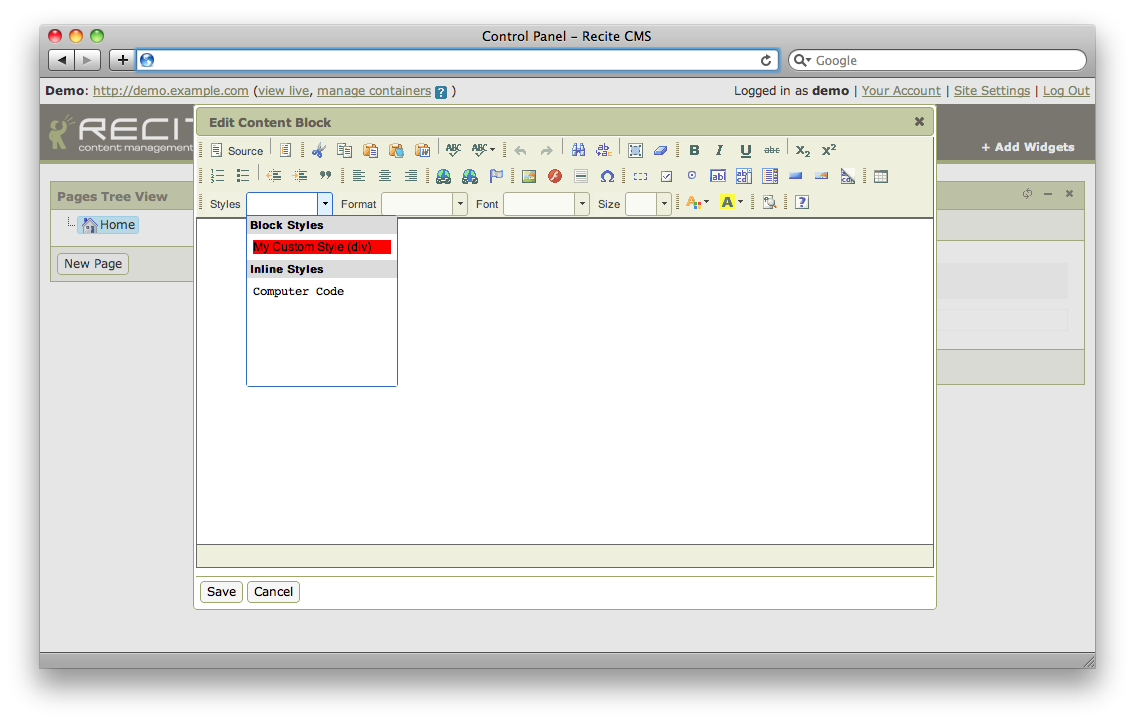
In order to populate the styles dropdown you must a special tag in the stylesheet
for each entry in the drop-down. This tag must appear in the CSS comment (which
begins with /* and ends with */).
Inside this comment you must include the special tag @wysiwyg, followed
by the name you want to appear in the drop-down.
Example B.1. Sample CSS entry for styles dropdown
/* @wysiwyg My Custom Style */
div.foo { background : #f00; }
Next time the WYSIWYG is loaded this style will be available in the drop-down.